Custom 5-1/2 Gallon auxiliary fuel tank constructed over the winter of 2012 / 2013 - with dual baffles.

This tank was designed & built by me using 6061-T6 aluminum plate stock, 3/16" thick, and coated with Linex spray-on bedliner material.

Dry weight of the tank is 21 Lbs. It's secured directly to the rear frame above the stock BMW rear support (passenger / luggage area) using seven (7) 6mm stainless bolts. No modifications to the bike were made for mounting. Gravity feed to the main tank is accomplished using 5/16" ID rubber fuel hose,
a 40-micron fuel filter, and a 5/16" quick-disconnect.

A key design point was to have the ability to mount a 17" or 19" tire on top of this tank, while retaining
easy access to the fuel cap at the pumps without the need to move the tire or fuss with anything. This requirement dictated the placement of the fuel cap & vent locations.

This GSA has a combined fuel capacity of approximately 14.25 gallons.

This was purely a 'one-off' design, consuming in excess of 60 hours to complete.


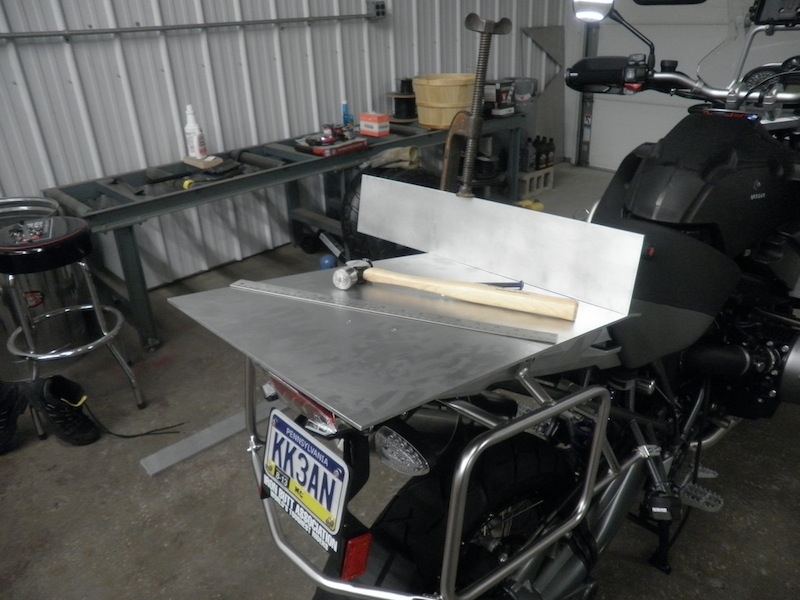
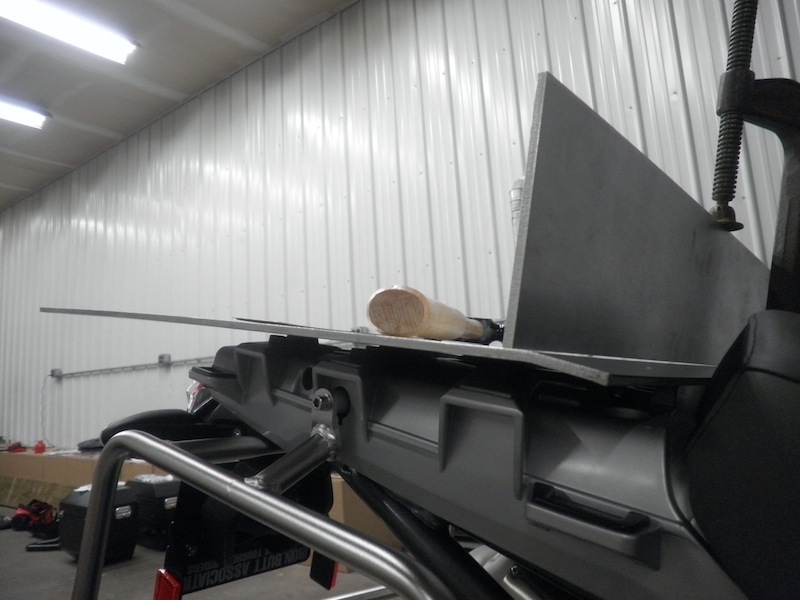
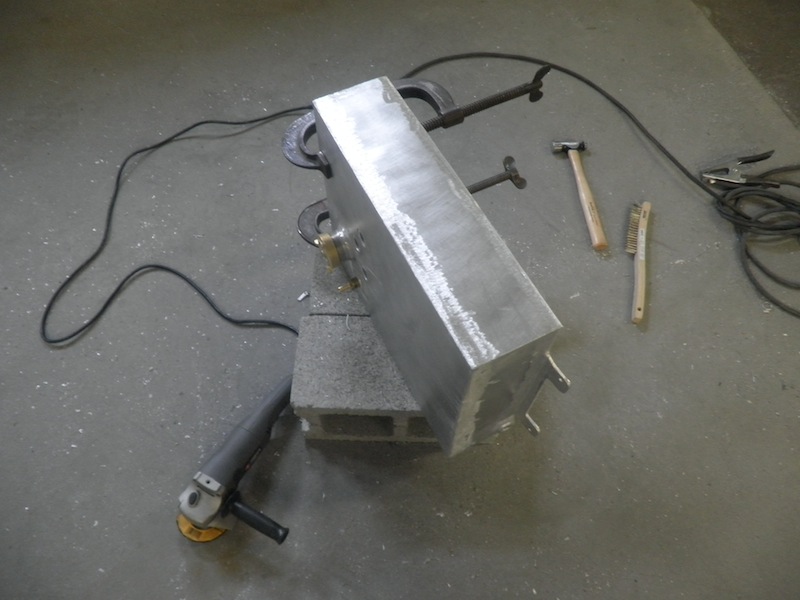
Measuring, punching and drilling holes. General pre-assembly and cutting material to size.

The intent was to utilize as many direct-to-frame mounting locations as possible. This meant dealing with
some odd angles as fastening points to the BMW frame, and some tricky through-tank fabrication was done
to permit the use of the (3) rear-most mounting points that are available.
 

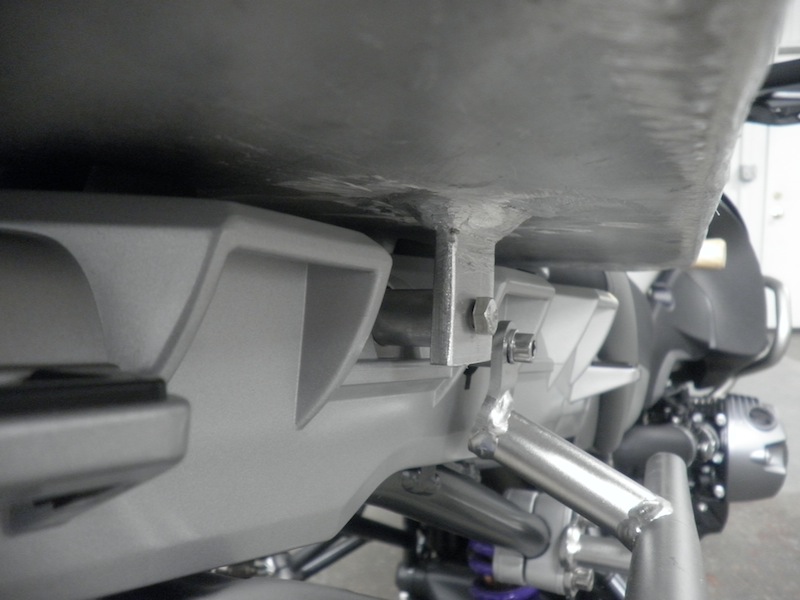
The two forward-most holes which secure the BMW rear support to the frame have a forward sweep of
about (7) degrees. This required the nose of the lower plate to be formed downward to match the forward
angle of these front mounting bolts. The lower mounting plate doubles as the bottom of the tank itself.
 

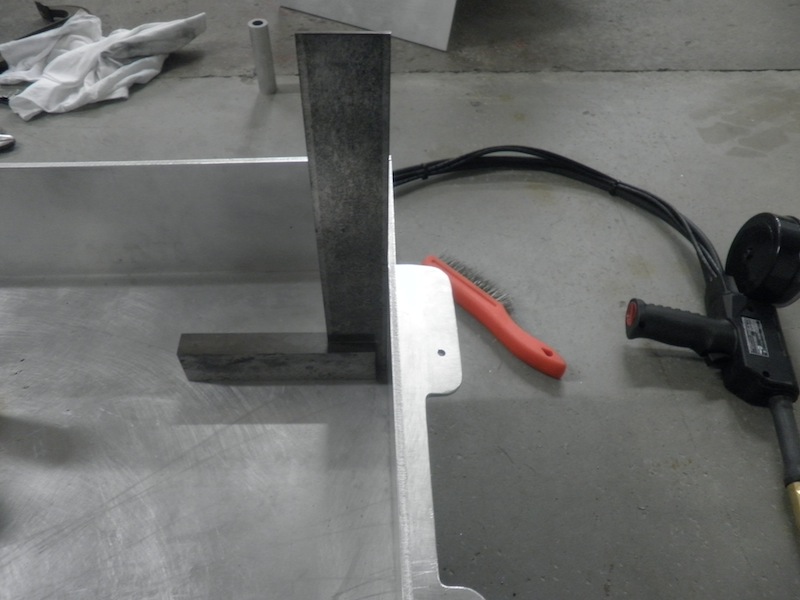
The front of the tank shown here, after a bit of grinding work to allow the nose of the lower plate to fit
flush behind the seat. This was ground even further later on.
 

Looking rearward at the tank, making the first tack welds.
 

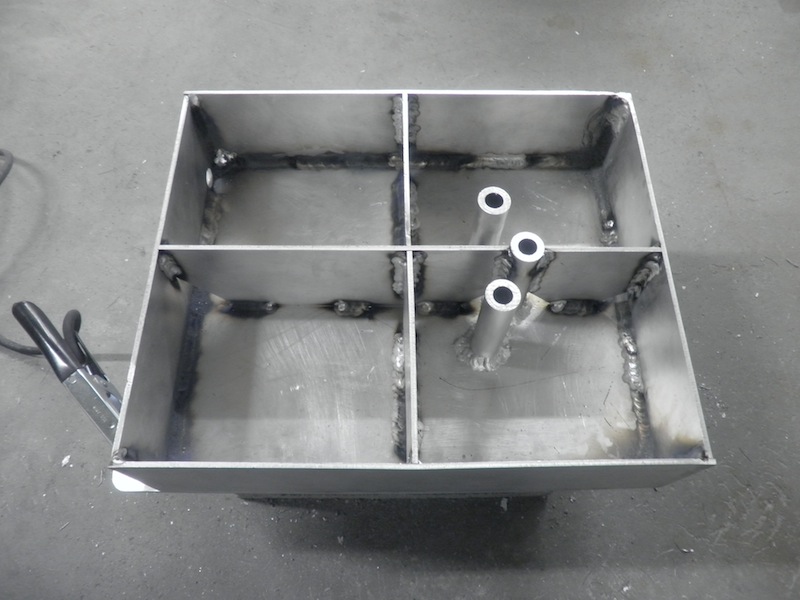
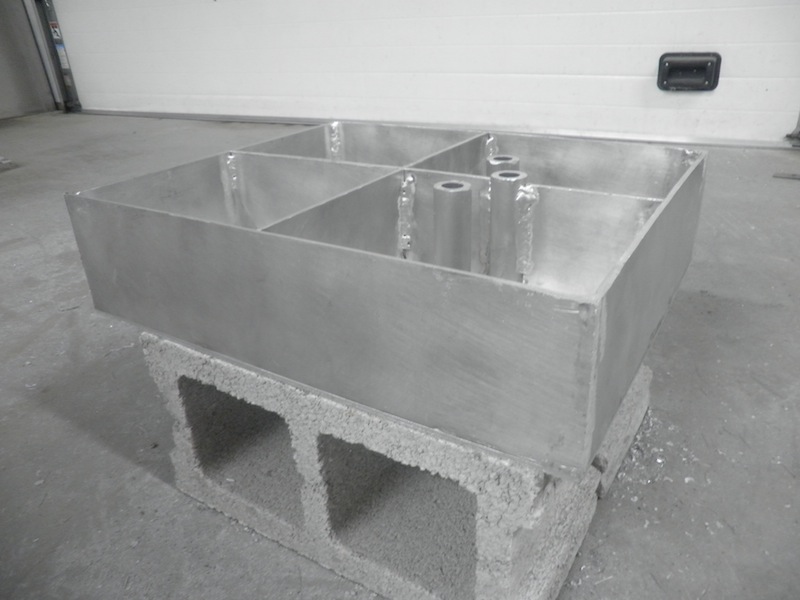
These (3) posts are simply passageways to access the (3) rearward-most mounting points from the top
of the tank. The ID of this tubing is such that it allows a 10mm socket & extension to pass completely down
through the tank, and onto the bolt heads at the very bottom. This was the only way I could think of to
provide access to these bolts while the tank was still mounted to the bike.

Also to keep warping (heat) to a minimum, the welds are kept short and distributed around the assembly.
 

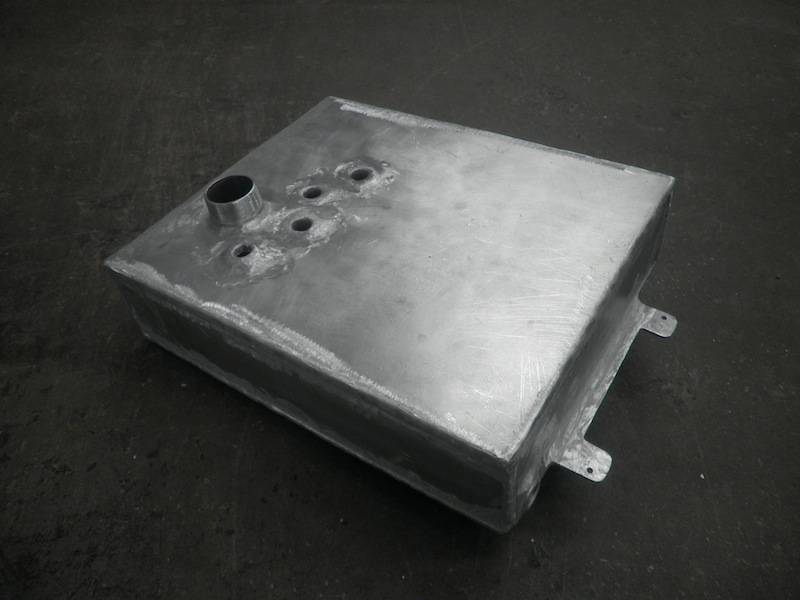
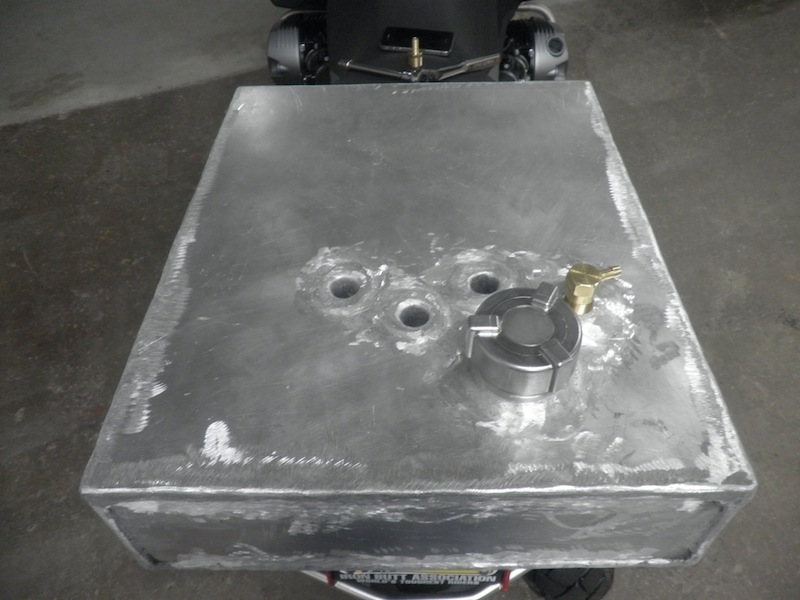
Mitre-cut baffles are all in place & the rest of the internal welding is complete. The fuel outlet hole is
visible here in the upper left - soon to receive a 1/2" NPT weld-in fitting.
 

Welds brushed clean and the inside of the tank is wiped down with brake cleaner.
 

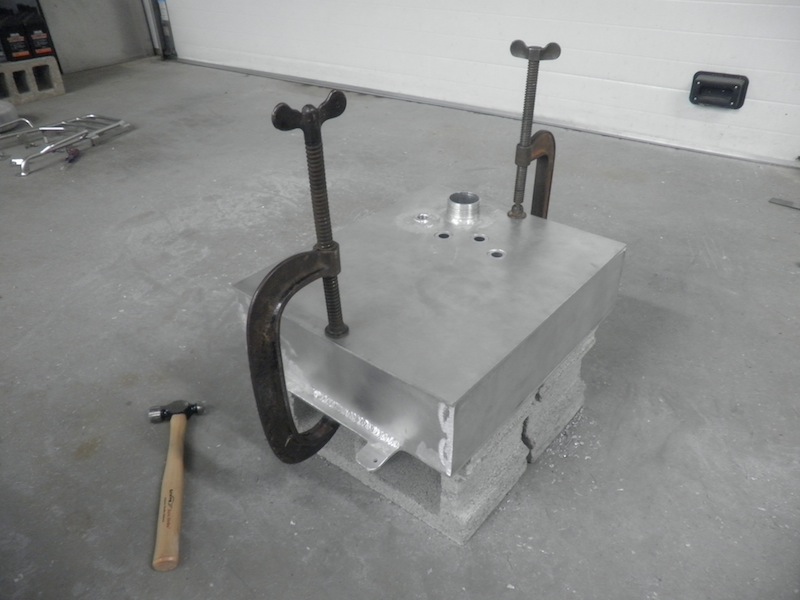
With the fuel neck & another NPT fitting for the vent both welded in, the top goes on over the (3) passageways.
 

A good bit of grinding here to get the top plate of the tank flush with the sides.
 

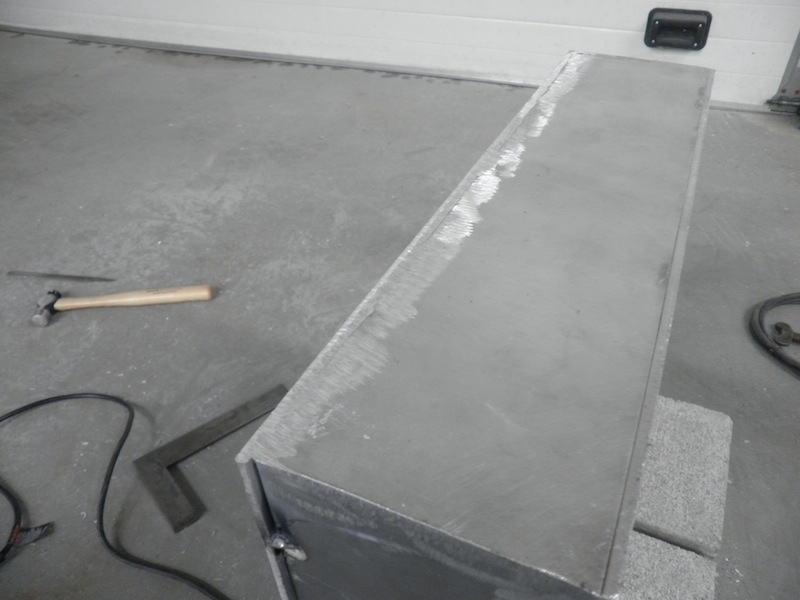
With the tank checked for squareness, the entire top plate is welded on, and outside welds are
placed around the bottom perimeter of the tank, and up all four corners.


I wanted to use the (2) mounting points on the side of the bike, and this required some careful fitting up
of some 1/4" aluminum tabs welded at angles to match the frame. I believe these mounting points are
provided for the OEM luggage racks, which I'm not using.

Custom aluminum spacers (heavy-wall tubing) are used here between the tabs and the bike frame.
 

I wanted to have the top of this tank as flush as possible ahead of the fuel neck to give the tank
more of a clean look, so the welds are ground down on top as much as possible.
 

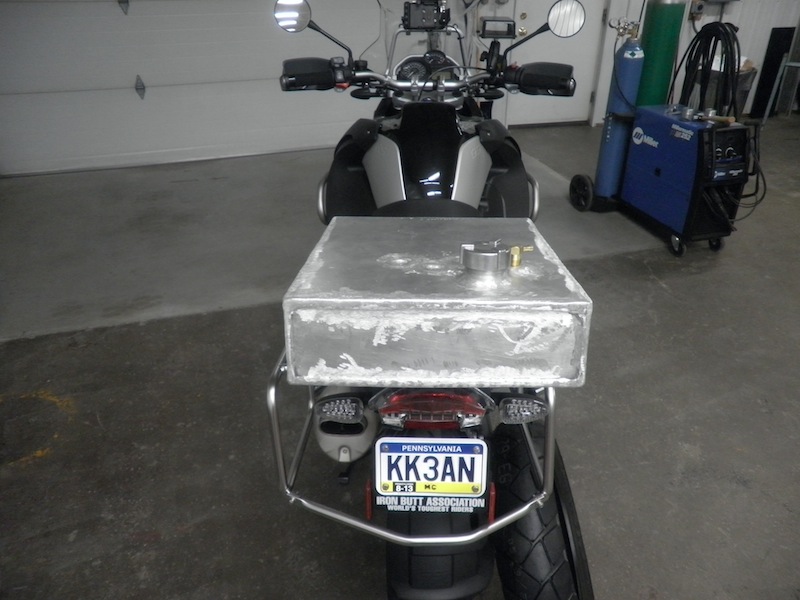
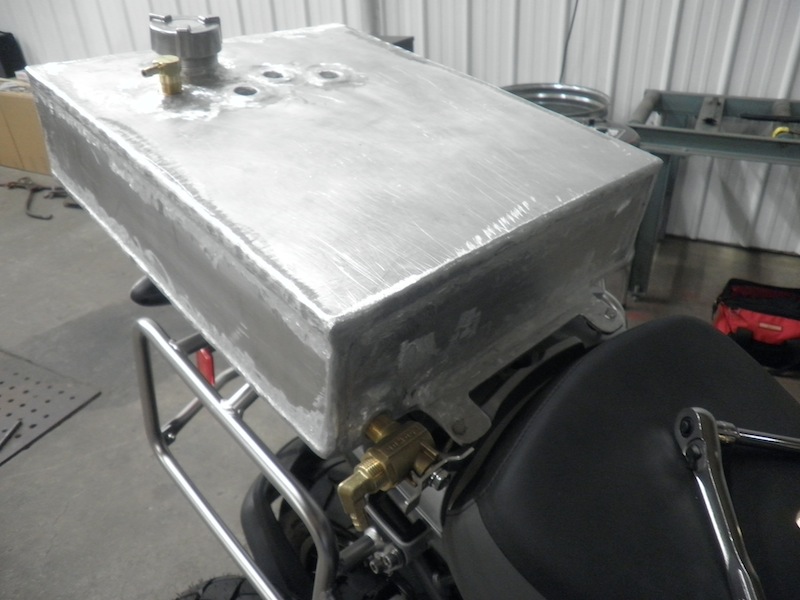
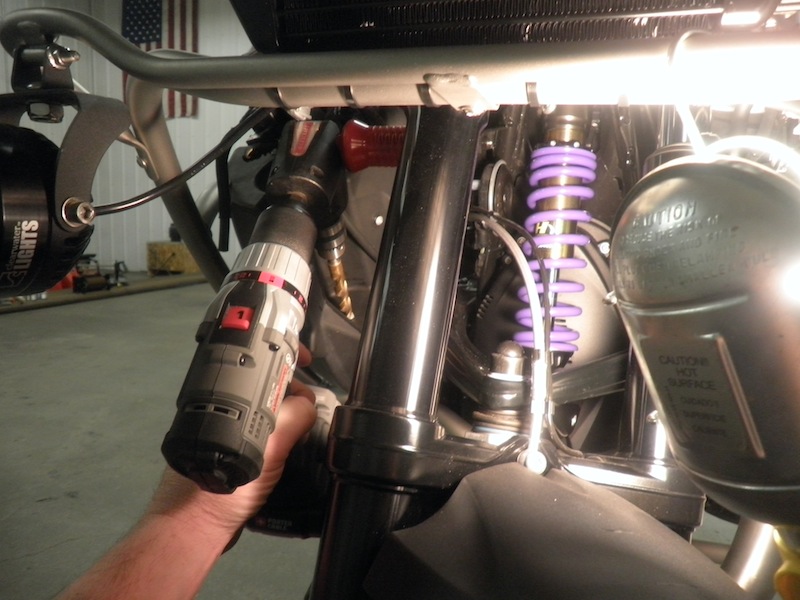
A bit of test fitting to the bike after letting the smoke out of the shop....
 

The fuel outlet is very low in the tank - about 1/8" from the bottom - and with such a forward lean-angle,
nearly all of the fuel should be able to drain out.

Still more grinding work was done on the front area to allow fitment to the stock rear support & to
allow the 90 degree ball valve to rotate 360 degrees.
 

The fuel neck & roll-over vent are placed here to permit a tire to lay perfectly flat on top of the tank.
 

I was going to weld some tie down points to the sides of the tank, but there's an ample number of places
to use for this by way of the pannier frames.
 

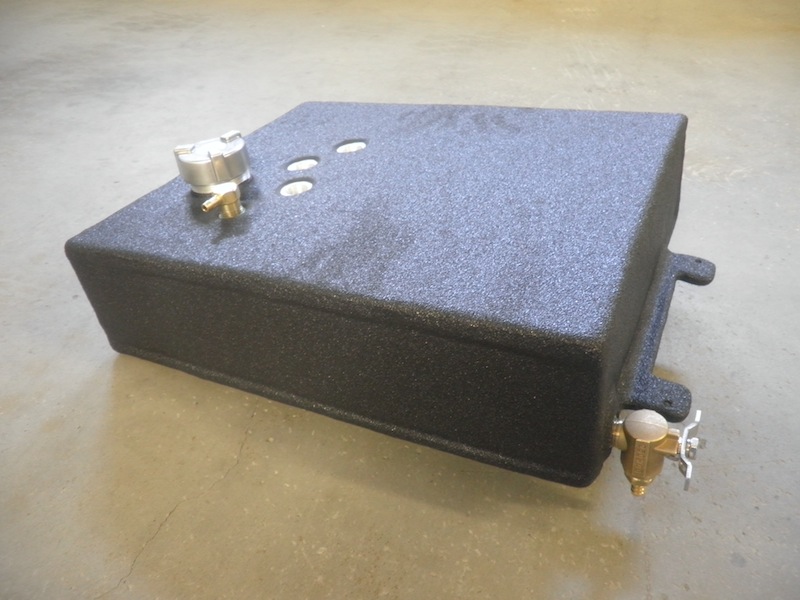
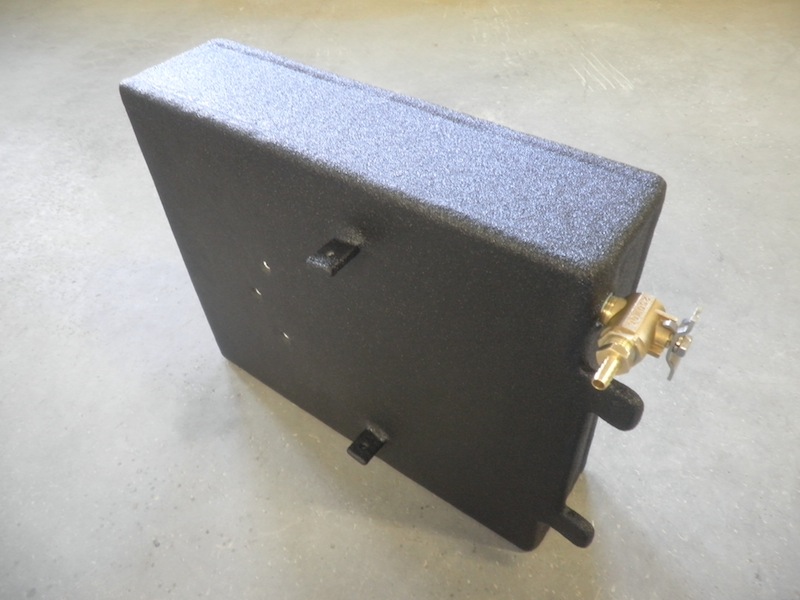
Back from being coated with Linex bedliner material.
 

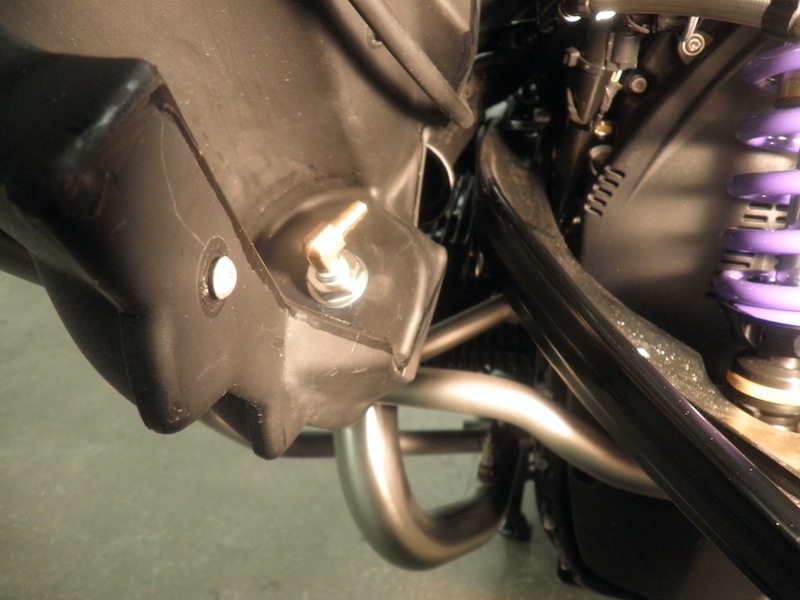
Had to clean out some of the holes & prep for mounting.
 

All mounted & secured very tight to the factory threaded holes in the frame. Overflow hose also attached.
 

Aluminum spacers are used to take up the gap at all fastening points.
Rubber washers are used to protect the Linex.
 

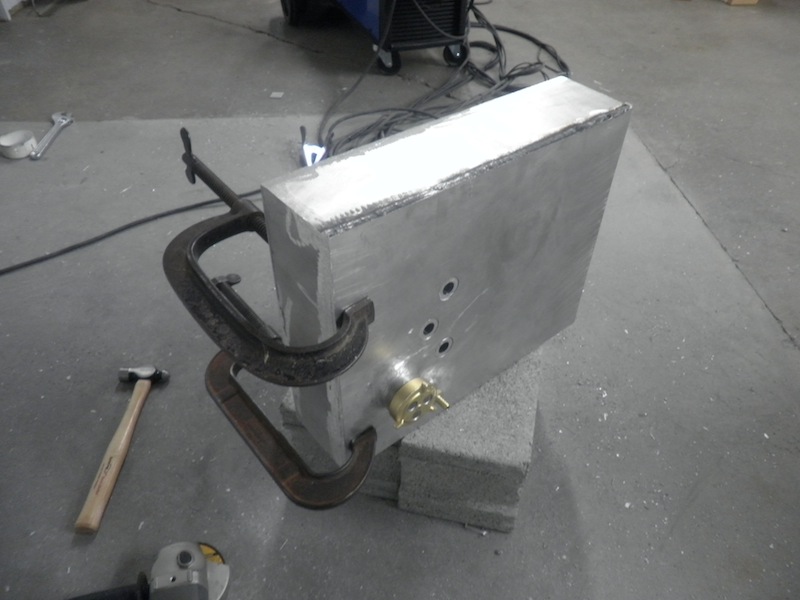
I spent a good bit of time searching for this 90 degree ball valve with 1/2" NPT male / female threads.
 

Inline 40-micron fuel filter. Ideally everything would be mounted on the left side of the bike instead
of the right, but the best connection point to the main tank was on the right, and being a gravity fed
system, it made the most sense to have a straight & gradual slope down one side of the bike
versus trying to cross over to the other side somewhere.
 

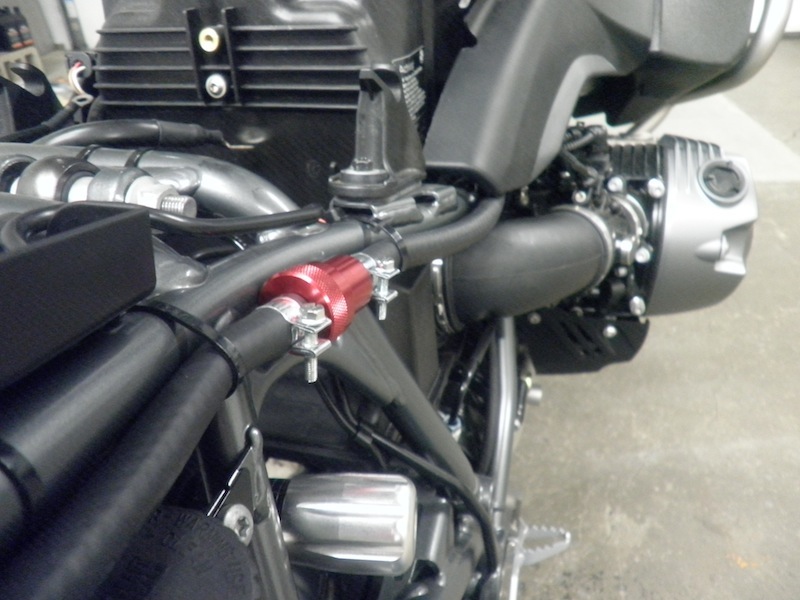
To my delight, removal of the charcoal canister provided a perfect & protected spot for the weldless bung.
 

The Pingle weldless fuel bung (P/N 62136) now lives where the charcoal canister once was.
Had this been on the left instead of the right it would have been ideal, but certainly not an issue.
 

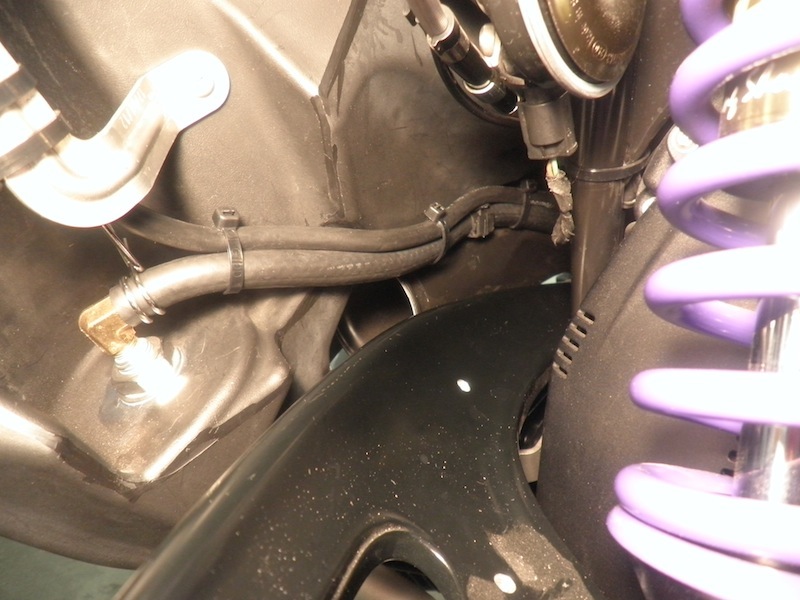
The new 5/16" fuel line (lower) is secured well away from the telelever, and the right side tank vent
line (upper) was re-routed and follows the fuel line. Dual wire barbs are securing the fuel line connection.
 

Would have hit $60 had the tanks been completely dry....


Home   About  Alaska